These Moments I Cherish
The day I saw your heart flickering on screen
The day I heard it for the first time; wow, what a sound
I remember watching my tummy grow for 9 beautiful months
I remember the sickness, the excitement, the nerves
The countdown, the questions and the wondering
I remember that magical day when I met you
When I stared in to your eyes, mesmerised
Held you to me, your tiny body taking up such a small space
I remember the first time you cried
The first time you smiled
The first time you laughed
I remember the fascination on your face as you discovered your hands
The surprise when you first rolled over
The way you would gaze up at me
I remember when we first read together
First sang together
First danced together
I remember these things so vividly, so clearly, so fondly
These were the most important moments of my life
The most amazing moments of my life
These are the moments I cherish...and you won't remember a thing
This time of your life will form the foundation, but the memories will pass you by
It will be some time before you begin to hold on to your experiences
All these incredible moments will fall away from your mind and become mine alone
You'll remember the stories, the frequent retellings of times gone by
You'll feel like you remember the moments as you will imagine them when I share
But these memories will be lost to you
These beautiful memories, the times I cherish, and you won't remember a thing
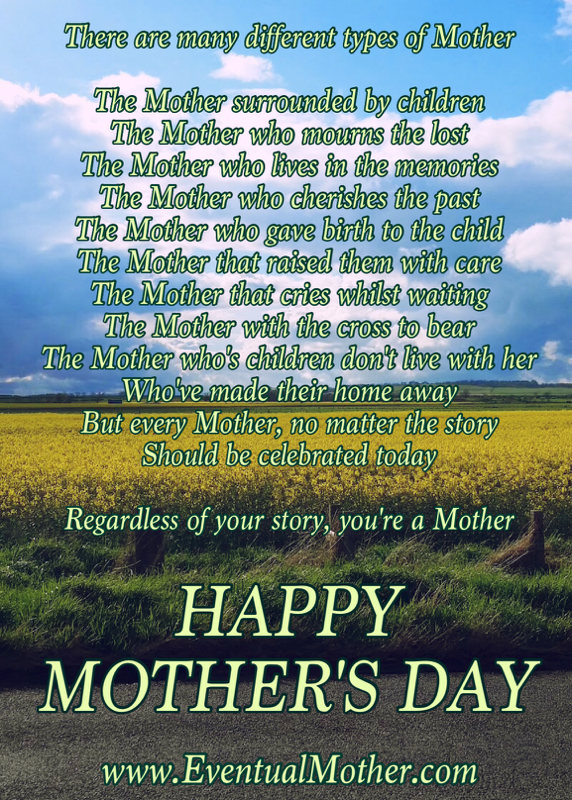
I hope you enjoyed reading this, please feel free to share x
Do Something Unique For Father's Day
Time to put those kids to work, we say, but what can they make?
We thought we'd give you a bit of hand and, the wonderful, Dayna has stopped by to share some inspiration...
You should know a couple of things about me.
First, I stink at art. No, really. I do. I can’t even draw a stick figure.
Second, I hate cleaning messes. Passionately. So messy arts and crafts aren’t usually my thing.
Third, this brilliant, baby-made craft was not only messy fun, but easy to clean up, and took around an hour start to finish—including cleaning up baby and mommy!
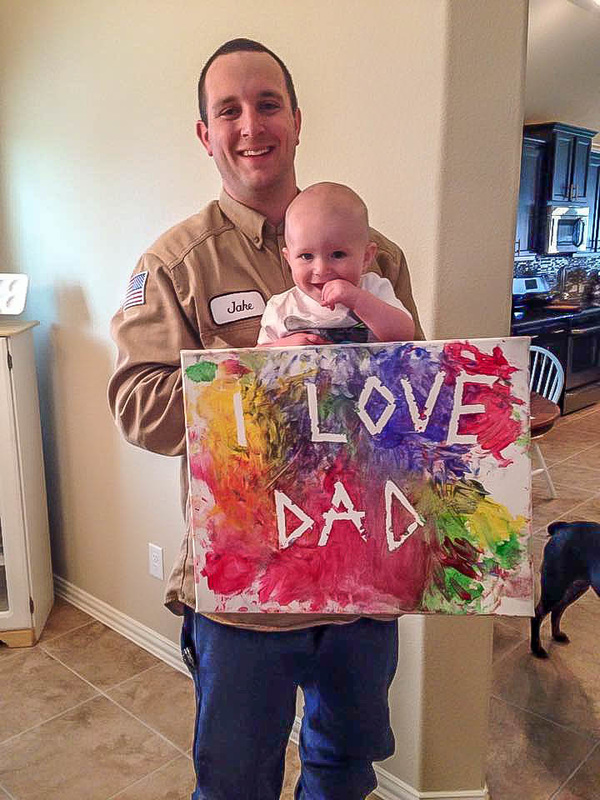
I should have saved it for Father’s Day, but I got too excited and enjoyed surprising Daddy with it way too early.
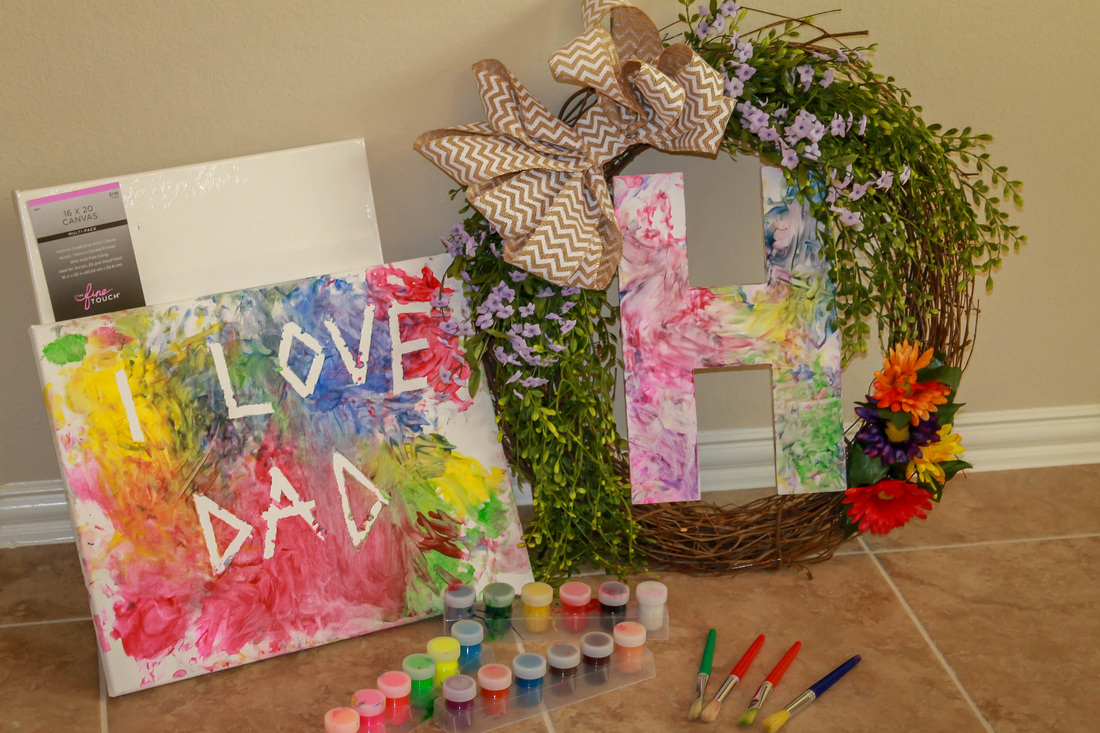
Along with the gift, I let my baby finger-paint a canvas H since I was creating a summer wreath for our door. It was easy to add the letter to a project already in the works.
Here is what you’ll need to create your own baby-made craft by finger-painting an art project for Daddy on Father’s Day.
1. A painter’s canvas.
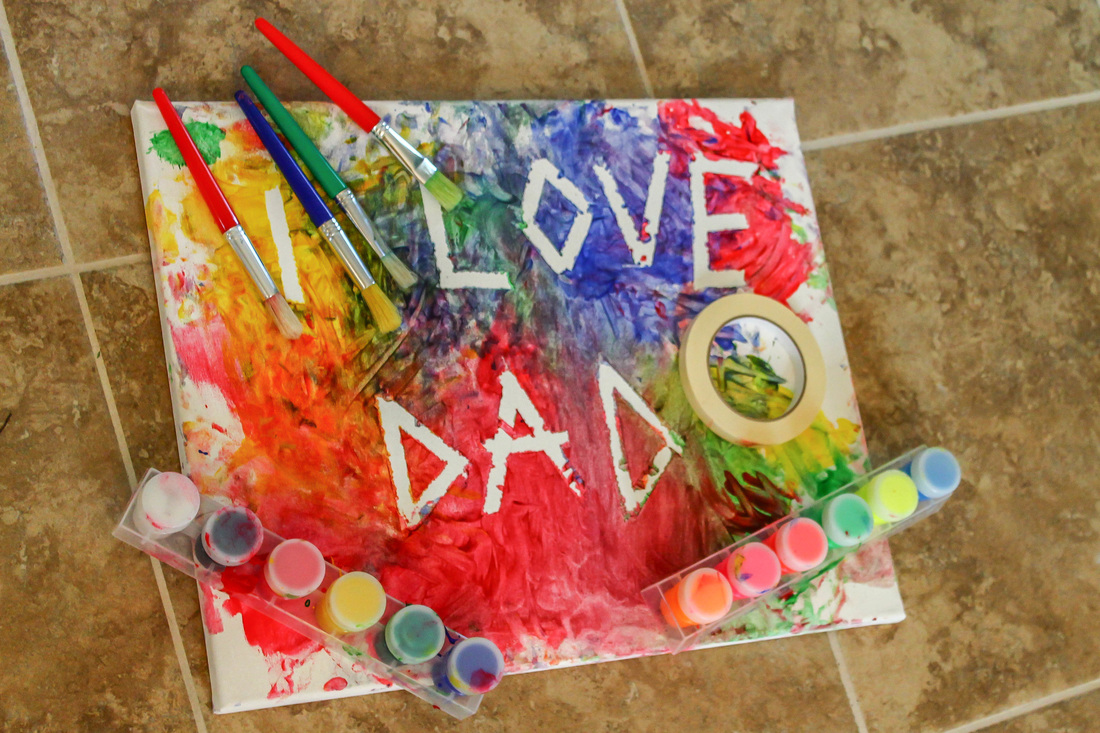
2. Children’s washable, non-toxic finger paints. Try and stick to primary colors. I used red, neon pink, blue, green, and yellow. Avoid colors like orange, brown, black, etc… they’ll turn the whole canvas into a murky looking mess. I used a small grouping of finger paint so I could have multiple colors for later use, but it’s easier to get the squirt bottles and skip the brushes completely. I only used brushes because my paint canisters were tiny.
3. Masking tape or sticky foam letters. Many people use the sticky foam letters, but I liked the messy writing a thin layer of masking tape left. Foam letters may have been easier to prep, but the tape wasn’t hard, either. I’m sure you could use stickers, or basically anything that is easy to peel off the canvas.
That’s it! If you want, you can lay out a trash bag or old sheet to have the finger painting party. We tried to use a trash bag, but it kept bunching up and just made more of a mess than the grass. The paint came off of everything exceptionally easy, and there are no remnants of paint anywhere outside.
How to create the painting
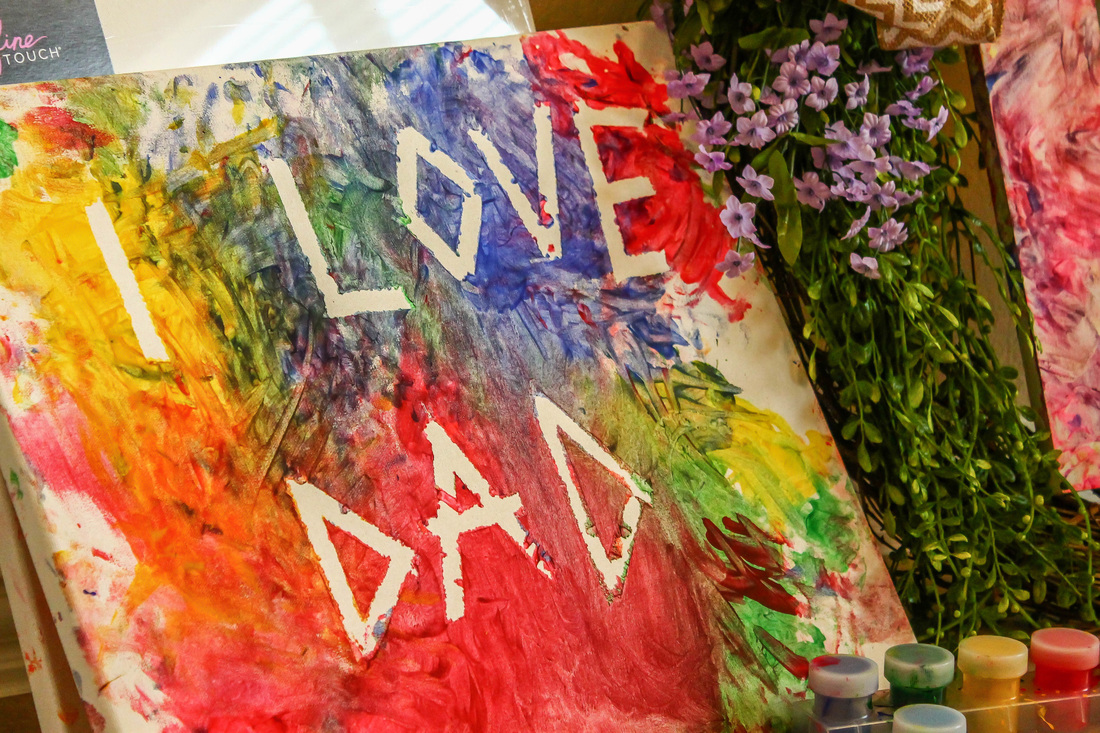
1. Get your canvas ready for painting. Using either the tape or foam letters, write out whatever you want to say. This gift was for Daddy, so “I LOVE DAD” is what I chose to write, but this is your craft, so write whatever you want! Or add hearts, stars, or other symbols in place of words.
2. Choose a finger painting location. I suggest either soft grass or concrete outside. If you have an old sheet or a cut open trash bag, you can use it. But take into consideration things like wind and sun. If it’s windy, your bag will blow and make more mess than the bare ground (I learned that the hard way).
3. Get your camera set up. Because this is super fun and you may want to capture the moment.
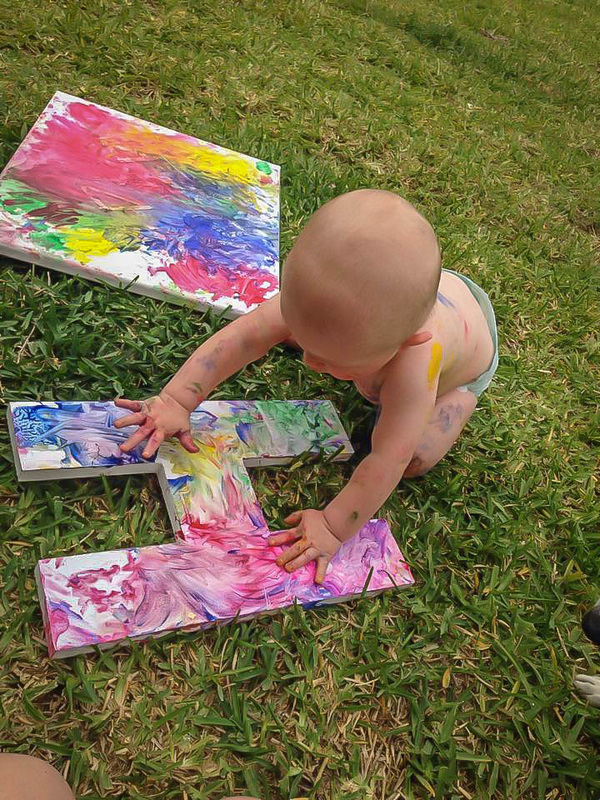
5. Take your paint and squirt it on the canvas. I would squirt in small globs, rather than cover the canvas in paint. Also, if you care anything at all about the color not turning brownish/blackish, stick to primary colors. Red and yellow make orange, blue and red make purple. But if I tossed orange and purple into the mix, then I would end up with brown or black.
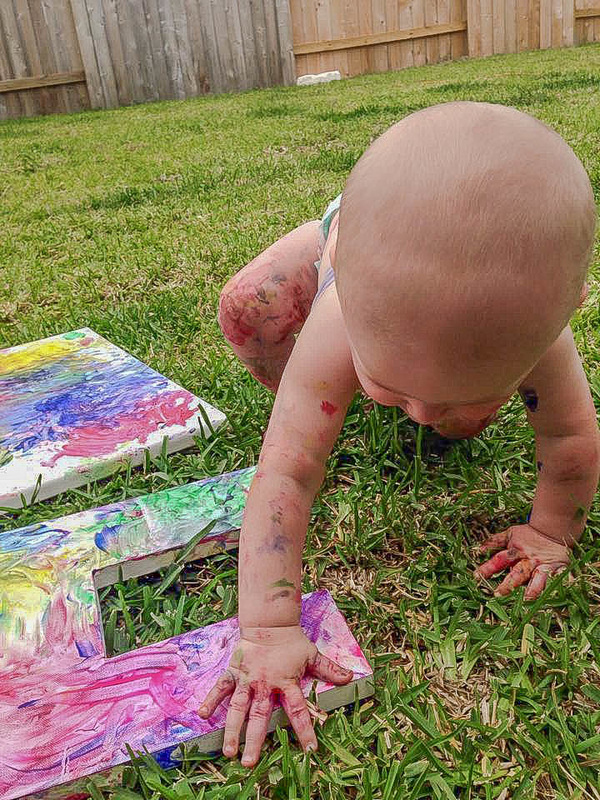
6. Ready to have some fun? Help your baby initially rub his hand in the paint. And that’s it. It usually only takes a second of help before your baby takes off and has a finger-painting party. My son looked a bit like a mad artist as he panted and started attacking the canvas in glee.
7. Let your baby play until he’s tired of it. It may be five minutes, or thirty. But you’ll know when the game is up.
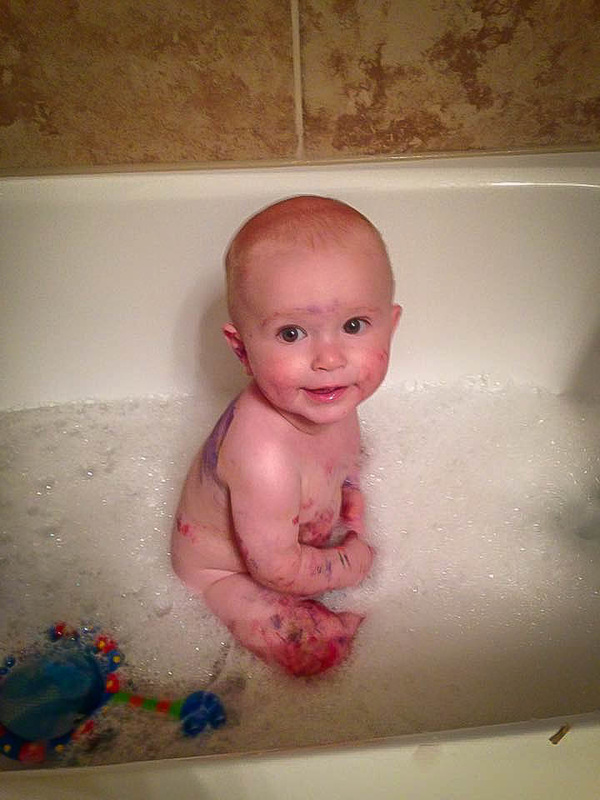
8. Put your canvas to the side and go take a bath with the kiddo. Because you two will be a hot mess of color. Maybe take a selfie first, because you’re cute.
That’s all folks! Super easy and super fun!
FAQ
Q: What if my baby eats the paint?
A: Well, for one thing, it’s non-toxic. For another, most babies don’t care much about tasting when it’s more fun to smear it all over the canvas. But you’re the guardian of the baby, so to speak, so if he somehow gets a huge hankering for a giant glob of paint—redirect his attention back to the canvas. And if your baby gets a tiny bit of lead-free, non-toxic, washable, children’s paint in their mouth…well, mine survived. J
Q: What size canvas is best?
A: I used a 16x20 canvas from our local craft store. Honestly, if it were bigger it would be too big. I love the results, though, and fully intend on hanging the finished product in our dining room.
Q: What if my baby doesn’t like it once we start?
A: Don’t force it. Be happy and have fun. Some babies aren’t fans of getting messy, and that’s okay. My son started getting fussy towards the end, so I quickly helped him cover only the letters and called it a day. We both still had fun! And he loved the warm bath after the mess.
Q: Is this only for babies?
A: A preschooler would love learning how colors work together—such a fun art lesson! And an older child may enjoy painting a picture of something and removing the letters to reveal the words behind it. I think this is a fun project for all ages!
Daddy will love his Father’s Day Gift, and baby will have made a fun craft that enhances sensory learning and is a keep-sake for years to come!
Take a look for yourself...

A friend of mine stumbled across this great article, by Kate at Everyday Story, recently.
It's about a technique for teaching your child not to interrupt...and apparently it works.
We thought we'd put it to the test and share our findings with all our wonderful Eventual Mother viewers.
Hey, my names Kirsty and I have a son who is almost 2.5 years old named Artemis.
We have tried all sorts of techniques found on the web. They have all been fairly sucessful and I am currently going to be trying the interruption technique.
I will be updating on this technique to the Eventual Mother as the weeks go on so be sure to check for updates on this general parenting technique! 😊
Kirsty will let us know how she gets on with this technique, with regular updates, so be sure to keep an eye on the site.
To make it easier, subscribe to the site and we'll let you know when new content is added.
If you decide to try out the technique, or know of another technique, let us know your experiences and you could also feature on the site.
Thanks, folks.
http://www.aneverydaystory.com/2014/07/07/how-to-teach-your-child-not-to-interrupt/
